Rebuilding My First Sand Battery from a Few Old Photos
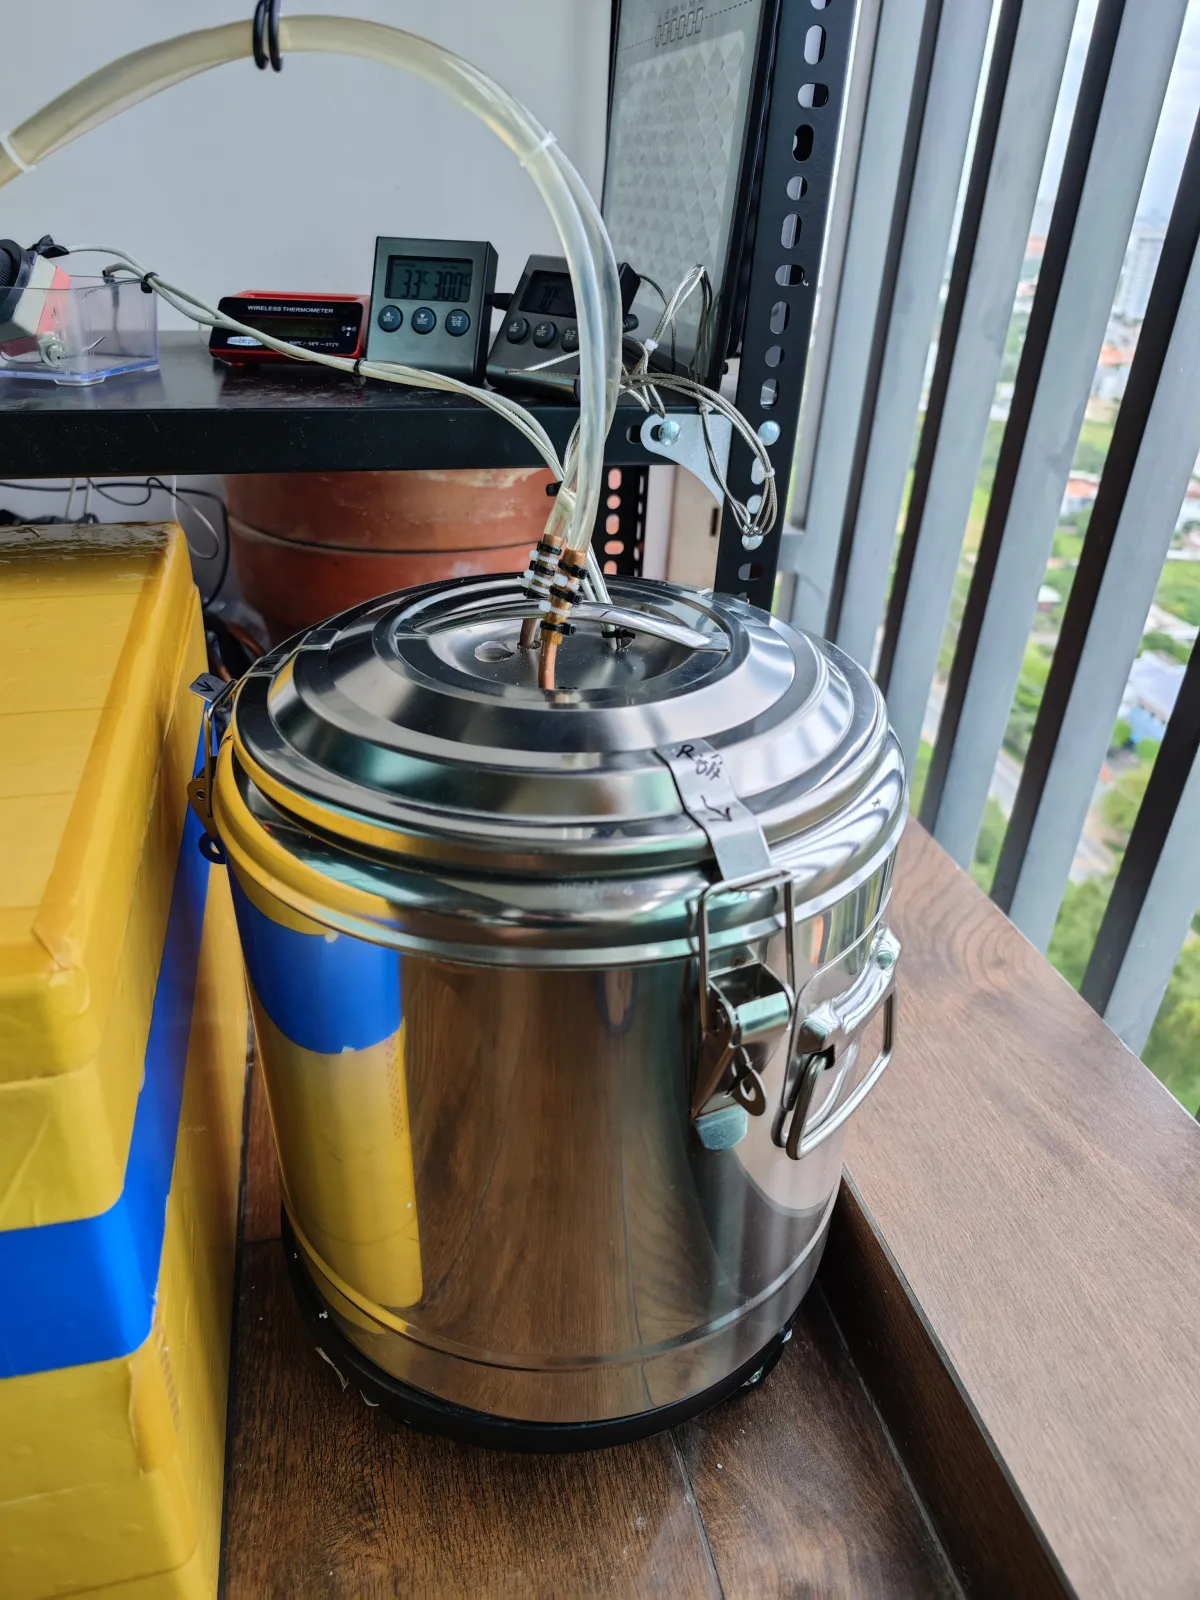
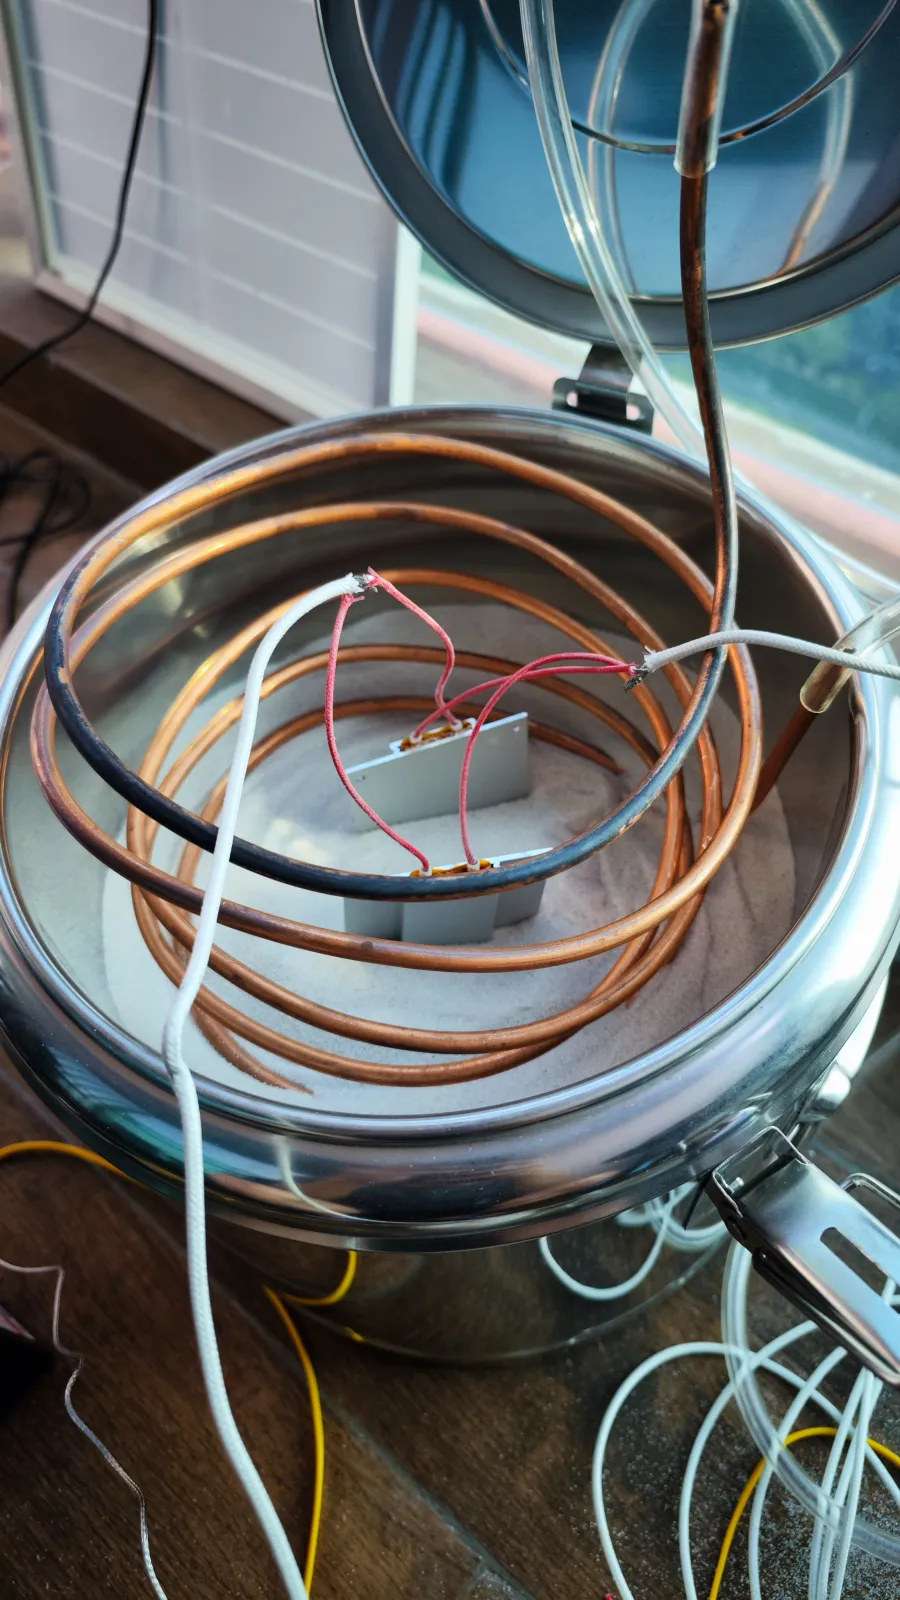
In November 2022 I built my very first sand battery on my apartment balcony. About 20 kg of dry white sand packed into an insulated stainless steel food barrel, two 220V PTC heaters buried in the middle, and a copper coil wound around them to warm up water. Nothing fancy, I was just trying to understand heat with my own hands.
Shopee parts and a slightly reckless balcony setup
Every single part on that balcony came off Shopee. Consumer-grade bits that were never meant to last long, let alone sit buried in hot sand. Sure enough, the heaters and the wiring didn't survive more than a couple of tries.
The rig got the sand up to about 240°C, and past 250°C or so the thermometer simply went haywire and threw out inaccurate numbers. The funniest part looking back: I controlled the heater through a Wi-Fi smart switch, and pointed a separate CCTV camera at the analog thermometer so I could monitor the temperature in real time from my phone while I was out for dinner. Thinking back, that was a major fire hazard, luckily nothing burnt.
Because it was just a rough balcony experiment, I never documented it properly. No drawings, no CAD, no proper parts list. Almost four years later, all I had left were a couple of photos sitting on my phone.
Four prompts from two photos
To be honest, I started with V0 because I didn't think Claude Opus 5.5 could handle anything more complex. I already had photos of my later V1 and V2 units on disk, and I didn't even touch them at first because I assumed AI couldn't reconstruct real hardware in 3D.
So I gave Opus 5.5 just those two V0 photos and asked it to rebuild the balcony prototype in 3D, running straight in the browser. It took about 4 prompts to get it right:
- In prompt 1, I attached the two photos and wrote down the component list I remembered, plus bare specs: 20 kg of sand and 240°C PTC heaters running on AC mains. From those two photos alone, it nailed the stainless barrel, the copper coil, the heaters and the lid clamps.
- In round 2, I added the water loop specs: a 20-litre water tank with a 60°C maximum water temperature so the heat exchange side had real numbers behind it.
- In rounds 3 and 4, I cleaned up the details. The thermometer setup it first generated was too complicated, so I stripped it down to a single dual-temp thermometer that anyone could understand at a glance, and fixed the thermocouple probe because it was connected to the wrong spot.
Here is where that early rebuild landed. I hid the water tank, the pump and the thermometer on purpose here because I wanted to show the actual progression from my first test with Opus 5.5, before I trusted it with the bigger machines:
What actually makes photo-to-3D work
Four years ago, getting an interactive browser model out of two balcony photos meant hiring someone to sit with me, ask a hundred questions and spend a week in a CAD tool. Today it took two photos, a short list of real specs and 4 prompts.
If you have old hardware prototypes buried in your camera roll and want to try this yourself, my biggest takeaway is simple: feed in real technical specs alongside the photos. Mass of the medium, heater temperature, tank volume, target output temp, how parts hook up. The more real numbers you give, the tighter the model comes out, because these models understand physics far better than most of us assume. Half the battle is just believing it can do the job and actually testing it.
It's still not perfect, some proportions are a guess.
Which makes me wonder how good this gets from here. Will it look at a photo and tell me the insulation is too thin? Work out how fast the sand loses heat overnight? May be in a year it doesn't need me fixing the thermocouple at all.